Bootstrap Checkbox Button
Intro
Once in a while the elementary aspects might get extremely essential-- most especially as you get to need them. For instance how do your website visitors communicate with the webpages you make specifying a basic Boolean action-- simply yes or no relating to a number of the thoughts you want to request, precisely how they do accept the conditions and terms or perhaps line up a handful of the achievable preferences they might possess. We typically get past this with no paying enough of an interest to the component accountable for these kinds of actions yet the Bootstrap Checkbox Input is actually a very important feature-- one our forms just can't really do without.
Within the most recent fourth version of the Bootstrap platform we are presented with the
.form-check.form-check-label<div>.form-check.form-check-label<label><input>.form-check-inputExactly how to utilize the Bootstrap checkbox:
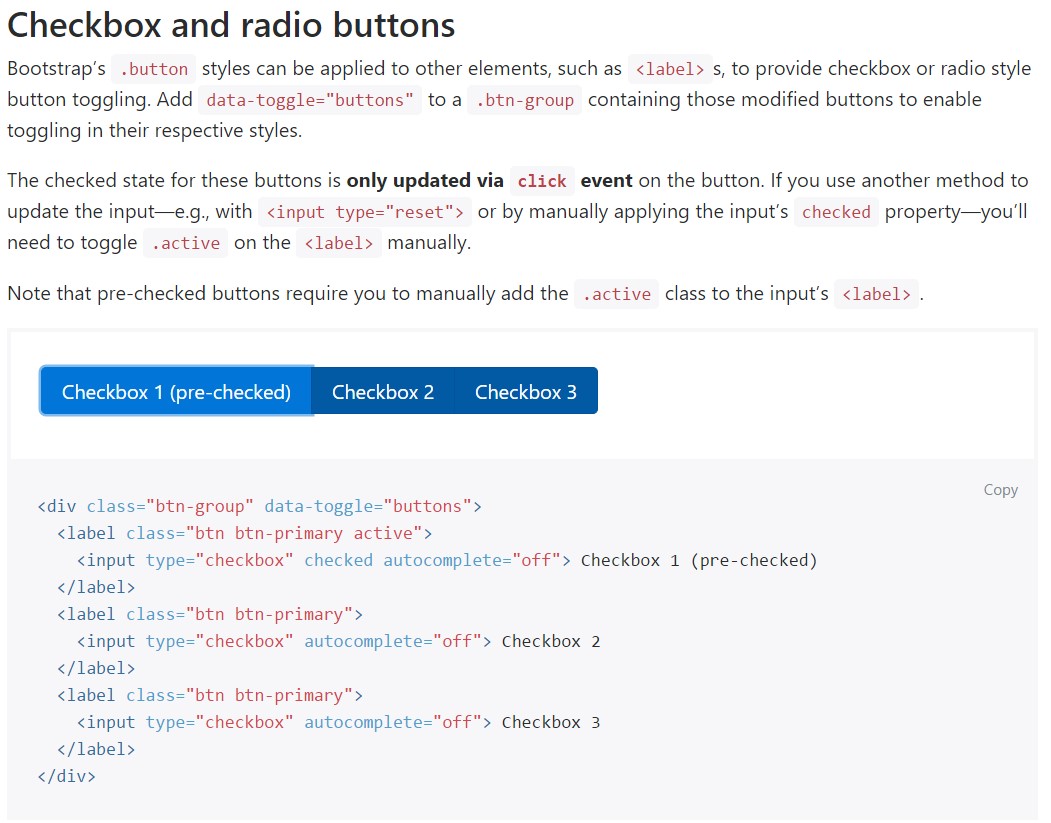
Bootstrap's
.button<label>data-toggle=" buttons".btn-group
<div class="btn-group" data-toggle="buttons">
  <label class="btn btn-primary active">
    <input type="checkbox" checked autocomplete="off"> Checkbox 1 (pre-checked)
  </label>
  <label class="btn btn-primary">
    <input type="checkbox" autocomplete="off"> Checkbox 2
  </label>
  <label class="btn btn-primary">
    <input type="checkbox" autocomplete="off"> Checkbox 3
  </label>
</div>
In some cases we want to have the checkboxes to come inside our forms without the customer actually having the ability to have any type of activity selecting them-- that is actually where the disabled option arrives in.
Just to disable properly a checkbox in Bootstrap 4 employing the standard HTML attribute
disabledIn the event that you really like the suggestion and indeed really want to carry this out you should certainly assign the
.disabled.form-checkOne other example
Any time you are working with checkboxes, wrap them in a
<label>.custom-control.custom-checkboxEmploy
.custom-control-input<input>Also utilize two
<span>.custom-control-indicator.custom-control-description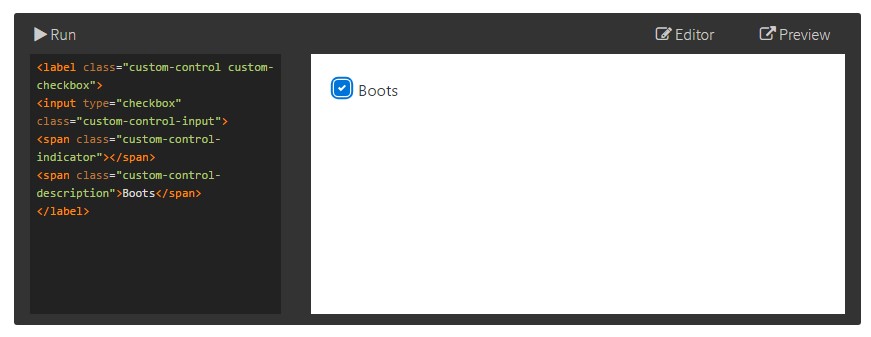
<label class="custom-control custom-checkbox">
<input type="checkbox" class="custom-control-input">
<span class="custom-control-indicator"></span>
<span class="custom-control-description">Boots</span>
</label>
Bootstrap Checkbox Input forms
Default checkboxes and radios are raised upon with the help of
.form-checkThe disabled class is going to at the same time make lighter the message colour to help indicate the input's state.
A fresh detail for the Bootstrap version 4 system is the release of the so called custom-made form elements. These are actually the similar features we are knowing in usefulness though designated far more appealing and with the Bootstrap method. By having them you can surely provide amazing taste as well as individuality to your material by simply simply just appointing a couple of extra classes to the controls you include in your forms.
If you want to use custom checkboxes wrap them within a
<label>.custom-control.custom-checkbox<input>.custom-control-input<span>.custom-control-indicator.custom-control-descriptionConclusions
That's nearly all that you have to handle in order to place a checkbox component within your Bootstrap 4 powered websites and add in certain custom flavor to it putting in it a stylish looks. Right now all you need to do is repeat the drill before you've reviewed all of the checkboxes needed are currently on the page.
Check out several youtube video guide relating to Bootstrap checkbox
Linked topics:
Bootstrap checkbox official information
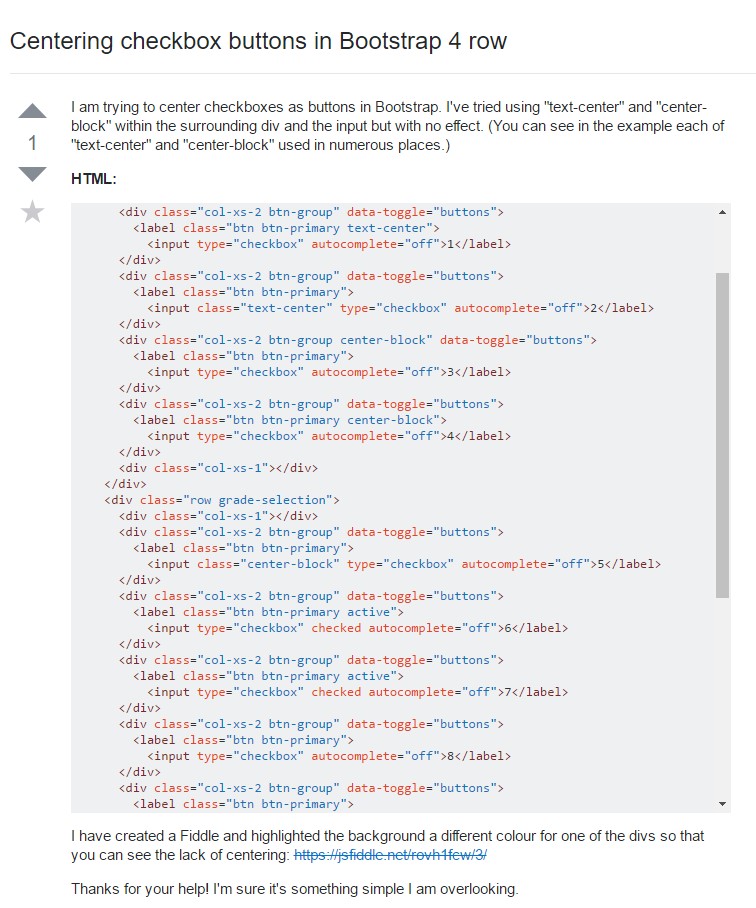
Centering checkbox buttons in Bootstrap 4 row
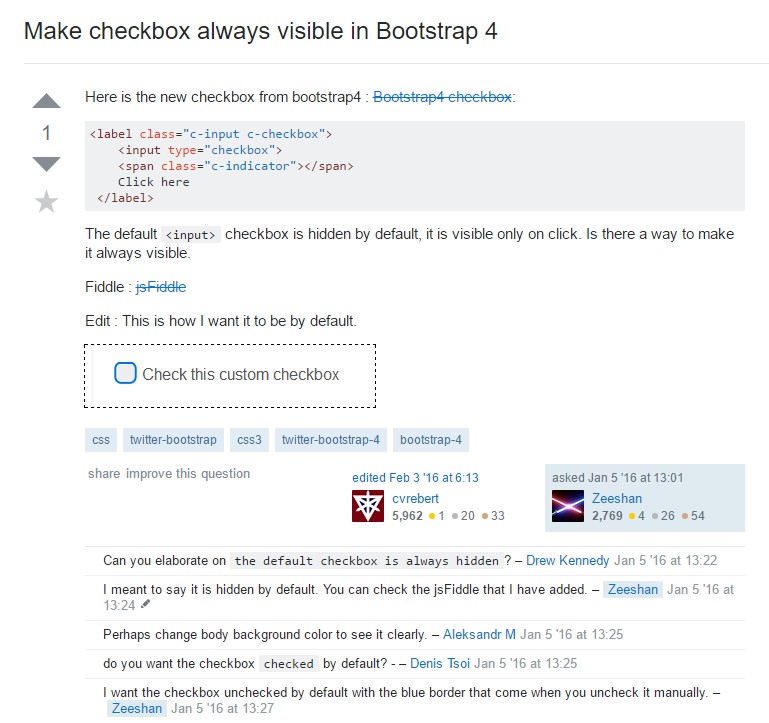
Make checkbox always visible in Bootstrap 4